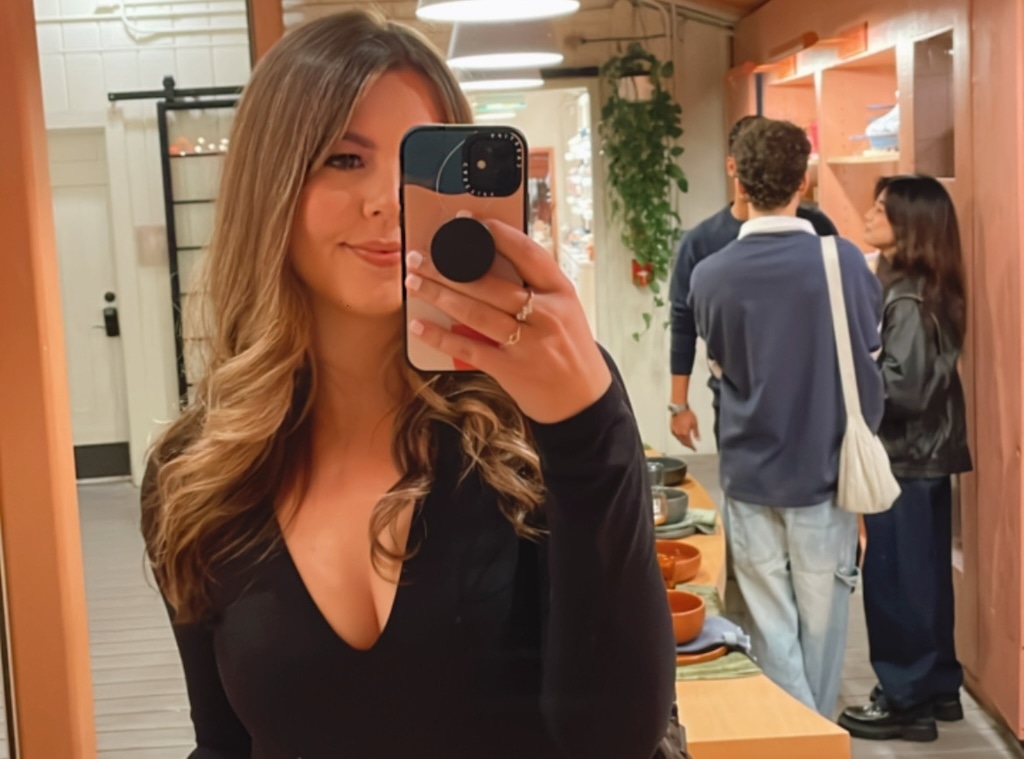
 Carolin Lehmann
When I first got my Dyson Airwrap, I considered getting rid of it. I couldn’t get it to hold a curl on my straight hair at all, plus Airwrapping my damp hair made it look frizzy.
Most of all, I found it more time-consuming than using a regular curling iron. But I held out hope because the initial results after Airwrapping my hair looked like a blowout from a salon—better than anything my curling iron could do.
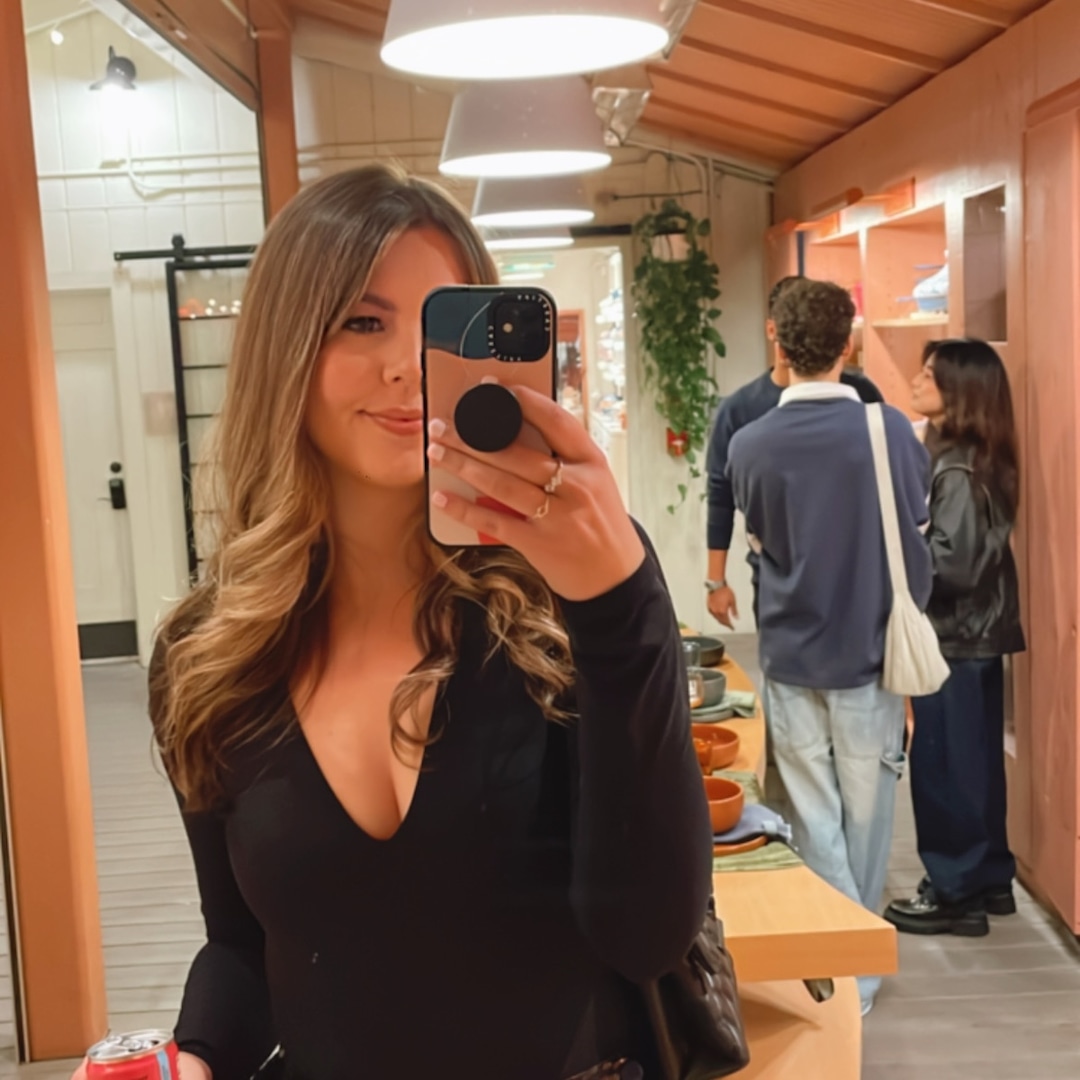
After some trial and error, plus learning tips from the Dyson team firsthand, I now swear by my Airwrap. It’s about using the right hair products and styling techniques to get longer-lasting results.
First things first, make sure to Airwrap your hair while it’s still slightly damp. This helps the curl hold by drying your hair in the correct shape. Let the Airwrap grab onto your hair from the tip and work its way up. Be sure to use the cool shot and then turn off the Airwrap completely before releasing your curl from it.
Airwrapping my hair still takes longer than curling it, but it’s totally worth it for special occasions. That’s because it looks professionally done, and now I know how to make it hold longer.
For more Dyson Airwrap tips and the products I use to get the look above, read on!
Dyson Airwrap i.d. Multi-Styler and Dryer
First things first, grab a Dyson Airwrap. I use the smallest barrel available to make my curls as tight as possible, as they will inevitably fall.
Ouai Detangling and Frizz Fighting Leave In Conditioner
When I get out of the shower, I spray my wet hair with some leave-in conditioner so that it’s easier to brush out. Ouai’s smells and works great.
Amika The Wizard Detangling Hair Primer
Amika’s products smell amazing, and I also put this detangler and heat protectant in my wet hair. Next, I rough-dry it.
L’Oreal Paris Hair Care Advanced Hairstyle Boost It Volume Inject Mousse
I blow-dry my hair until it’s not dripping wet anymore, and then add mousse to my damp hair. Next, I blow-dry it some more until it’s almost completely dry.
This mousse from L’Oreal gets the job done perfectly. I work the mousse into my ends as well as my roots for volume. This step is key to helping your Airwrap curls hold. Make sure not to use too much mousse, or else your hair will start to look crunchy.
No Bend No Crease Hair Clips (8-Piece)
Next, I divide my hair into sections and start to curl it. You can pin each curl to cool it if you’d like, but I have a lot of hair and no time for that. So I just pin my two front bang pieces using no-crease clips like these for some extra volume.
Hold your Airwrap facing downward and try letting it wrap smaller sections of hair around it. The smaller the section, the better it will hold. Once your hair is wrapped around the barrel, hold it as taut as you can by pulling the barrel away from your head. This is key!
Garnier Fructis Style Volume Anti-Humidity Hairspray
I hairspray each section of my hair that I curl as I go. This Garnier hairspray has great hold without looking crunchy. Once I’m done curling, I take out the clips in the front of my hair and spray those sections too. If I still have time, I’ll also tease my hair at the roots using this hairspray for even more volume.
Dae Cactus Fruit 3-in-1 Styling Cream with Taming Wand
Since you’re Airwrapping your hair while it’s still a bit damp, your hair might frizz up a little. Running this taming wand over the top of my hair completely takes care of that without weighing down my locks or making them look greasy.
Looking for even more hair tools and tips? Shop the under-$100 hair tool Charly Barby and Kelly Villares use to get Dallas Cowboys Cheerleader hair.

